How to Build a Hanging Basket
The key is planting the sides as well as the top
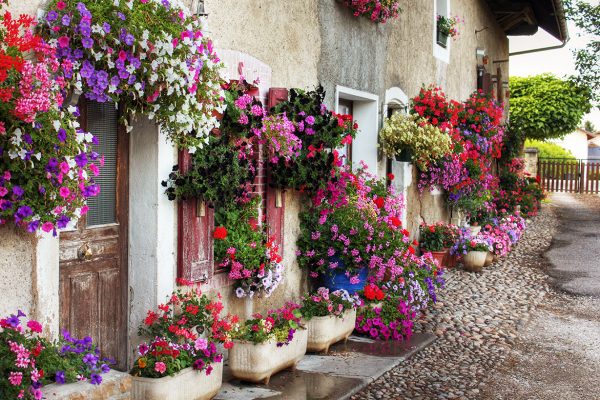
A hanging basket can serve a variety of functions, from accenting a front porch to filling an empty wall. No matter what the purpose, they offer an opportunity to play with plant combinations to create a riot of color. Today’s ever-shrinking landscapes mean fewer places to cultivate. Planting a hanging basket may be just the ticket for expanding your gardening realm. It is also one of the easiest ways to connect your garden with your home.
Trailing plants are traditionally used in hanging baskets with three plants of the same variety planted in the top. Another way to craft a hanging garden is to use an open-sided basket and plant the sides as well, a technique that allows me to use three to four times the number of plants in a traditional basket. I usually use a jumble of clumpers and trailers to create the illusion of masses of color and texture. I also mix in a few plants with great foliage to add interest throughout the growing season.
1. Choose a basket
When it comes to baskets, size—or in this case, volume—does matter. The volume of the basket is directly related to the amount of water your hanging garden can retain; if you select a basket that is too small, you’ll have to water daily, if not more often. A larger basket can make taller columns or posts look more in scale with your house or landscape. I use baskets that have open sides so that I can cut slits in the liner in a checkerboard pattern for planting
2. Insert a liner
To fully cover large baskets, you may need to overlap two rectangular sections of liner. While the exact lengths depend on the size of your basket, allow enough extra material so that, when the basket is filled with soil, some will still spill over the edges. Overlapping the liner in the bottom of the basket has the added benefit of slowing water flow out of the basket.
3. Build a base layer of potting soil
Start with a base layer of good-quality potting soil in the bottom of your basket. Press it against the bottom and sides of the basket so that you have a firm background to cut against when making the slits for the first row of plants. The soil level should be about 4 to 6 inches above the bottom of the basket when you complete this step.
4. Insert a water reservoir
To help with aeration and watering, I insert a vertical 8- to 10-inch section of slotted black drainpipe, available at any hardware store. I adjust the length so that 2 to 3 inches are exposed above the final soil level; this ensures that the drainpipe does not fill with potting soil during rainfall or waterings. I place the pipe so that the end sits about 4 to 5 inches above the bottom of the basket. If the drainpipe hits the bottom of the basket, water will simply drain right out of the basket instead of filling the surrounding area. The pipe directs the water toward the bottom of the basket, which is the first place to dry out.
Stagger your plants
To ensure maximum coverage while preserving visibility, place plants in a checkerboard pattern. After spacing plants evenly in the bottom row, create the next row so that its plants fall between, not directly above, those below.
5. Cut the liner and add plants
Using a sharp object, make small incisions in the liner just below the current soil level and carefully poke the root-balls of the plants through from the outside. Small plugs or cell pack–size annuals work best because they minimize the size of the openings in your liner; larger holes will let potting soil spill out and may even cause young plants to wash out during watering. If you must use larger plants, gently wash most of the potting soil from the root system and carefully compress the root mass into a torpedo shape and slip it through the liner.
6. Continue planting to the top
Keep adding layers of potting soil, cutting slits, and inserting rows of plants in a staggered pattern until you reach the top of the basket. Top off your planting with a few upright annuals or perhaps even some small grasses. Trim the liner to about 1 to 3 inches above the final soil level so that a small amount peeks over the edge of the basket. This reduces the chance of potting soil being washed out of the basket when watering. Then, give the whole basket a good soaking.